Roots blower has a simple structure and is not complicated during installation. It shall be operated according to the product manual provided by the manufacturer. Pay attention to safety during construction. If there is any confusion during installation, contact the manufacturer for guidance, so as to ensure the smooth operation of the blower.
Technical preparation. Prepare the installation instructions, dimension drawings and other data of Roots blower in advance, and formulate the installation technical requirements, installation method, installation sequence, transportation method and other auxiliary tools. Site preparation. Tools, measuring devices and other tools for installation must be prepared at the construction site.
Foundation preparation: (1) Check the foundation. The inspection includes whether there are obvious cracks, voids, cracks and other defects on the outer surface of the foundation, the main dimensions of the foundation components, the depth and verticality of the foundation screw holes.
(2) Prepare the fixture of the support chord, place it on both sides of the longitudinal axis, determine and mark the height of the "unit center", check the longitudinal and transverse positions of the foundation screw hole and the centerline with the tools and plumb bob hung on the chord according to the unit center, and mark the central axis of the foundation with chalk on the foundation surface with the plumb bob, Then use the wedge hammer to process the foundation and place the wedge block at the four corners of Roots blower, and put the wedge block on.
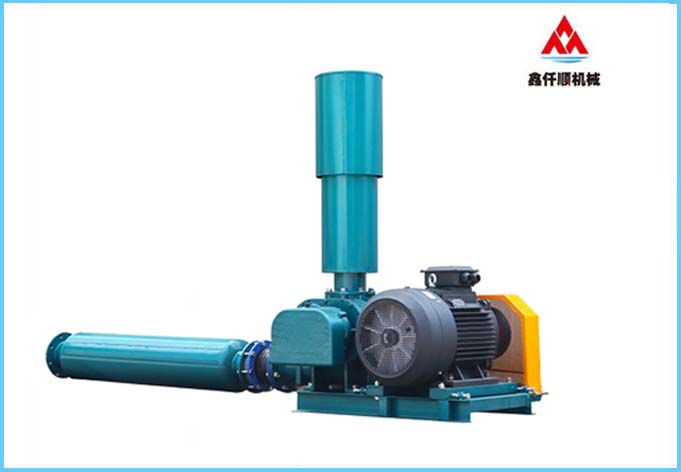
Unpacking acceptance. Check the fan parts according to the goods list to see if there are any missing items or damages caused during transportation; Remove the protective objects on the parts, check whether there are foreign matters inside the air outlet, clean and wipe them dry, blow them with compressed air, and check whether the connection of all components is tight; The roots blower shall be flexibly rotated by hand without metal impact or friction. Before installation, use a forklift to transport Roots blower and its parts to the designated location on site.
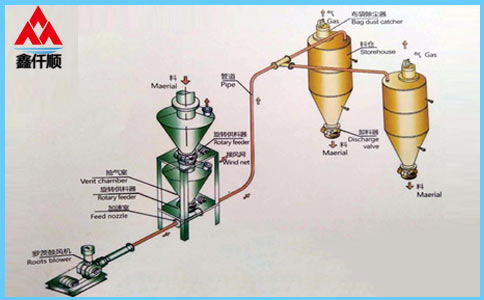
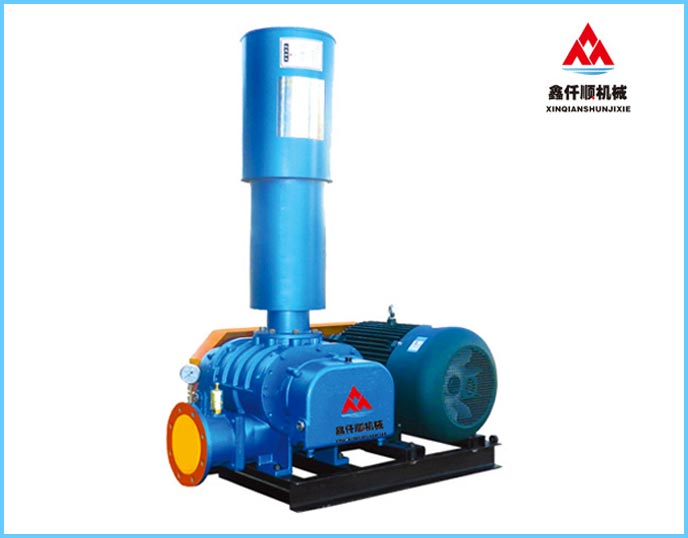
Fan installation. First install the fan. After the fan is installed, install the inlet filter, so that the whole host is installed. The host should be installed on the cement foundation, which should be 30cm above the horizontal ground.
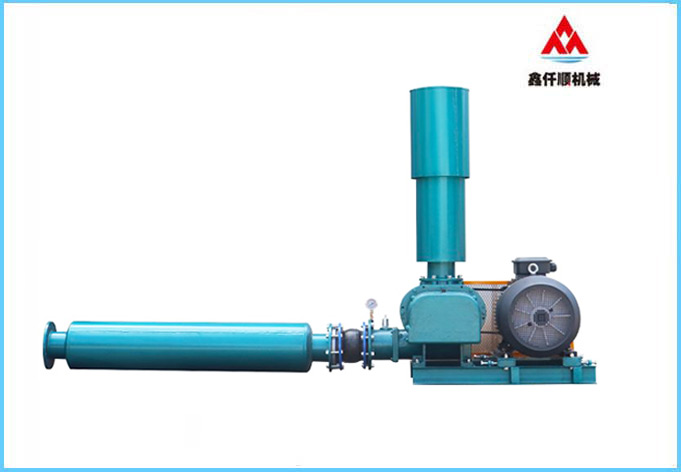
Installation of pressure gauge. The pressure gauge is installed at the outlet. The position of the pressure gauge will be reserved at the outlet of the high-pressure three blade roots blower. If our pressure gauge is not installed, you can see the outlet position, which is obviously visible.
Safety valve. The safety valve is also called pressure relief valve. When the pressure exceeds the rated value, it will automatically open to reduce the pressure on the fan to protect the fan. Elastic joint. Elastic joint is also called soft connection. The main problem of soft connection is that the pipeline and fan outlet are not on the same horizontal line, which plays the role of linking at different positions. Soft connection can also reduce fan vibration and outlet fan noise. Outlet silencer. The effect of reducing noise is that some customers do not install silencers and directly connect pipes, which depends on their own working conditions.
(1) During installation, first check the body and make sure there are no sundries. If there are sundries, remove them in time; Thoroughly remove the rust, welding slag and other sundries in the pipeline, and then connect with Roots blower. It is required that all flange joint surfaces are air tight.
(2) Put roots blower and motor together on the foundation, align and center the correct position of roots blower and motor according to the motor and two half couplings on roots blower and the unit centerline, the error between roots blower axis and motor axis must be ≤ 0.2/1000mm, and use wedge-shaped flat sizing block for horizontal alignment of the unit; After the adjustment, place the anchor bolts and pour the concrete into the anchor bolt holes. After the concrete is dry and leveled, place the wedge-shaped inclined sizing blocks in the anchor bolts, adjust the level and tighten them.
(3) Adjust the clearance between the parts of Roots blower and make records, which is conducive to the maintenance work in the future.
(4) The inlet and outlet pipes of Roots blower shall be clean, free of any foreign matter, and supported by pipe supports, so as to prevent its weight from pressing on Roots blower, so as not to affect its installation quality; The roots blower shall be rotated flexibly by hand without metal impact or friction.
(5) Install a pressure gauge on the straight pipe near the inlet and outlet of Roots blower. When Roots blower is in overload operation, the pressure gauge shall be able to reflect.
(6) The motor power supply shall be equipped with an ampere voltmeter to check the load of the motor and avoid burning the motor due to overload.
(7) During installation, it is not allowed to damage the assembly clearance of Roots blower; After installation, rotate the rotor of roots blower flexibly without impact and friction.
(8) The regulating valve shall be equipped before the cooling water inlet, and it is not suitable to install the regulating valve at the outlet end.
(9) Check valve must be installed on the outlet pipe of Roots blower to prevent tripping caused by sudden power failure or overload operation and to protect Roots blower in case of high-pressure gas backflow. The check valve must be installed on the horizontal pipeline, and the diameter of the check valve and pipeline shall be equal to the outlet diameter of Roots blower.
I believe that after reading the above contents, you should also have a basic understanding of the installation and adjustment of Roots blower. I hope it will be helpful to you.
Text label: Roots blower
Link to this article: //wuhanzhcs.com/html/news/n02/722.html